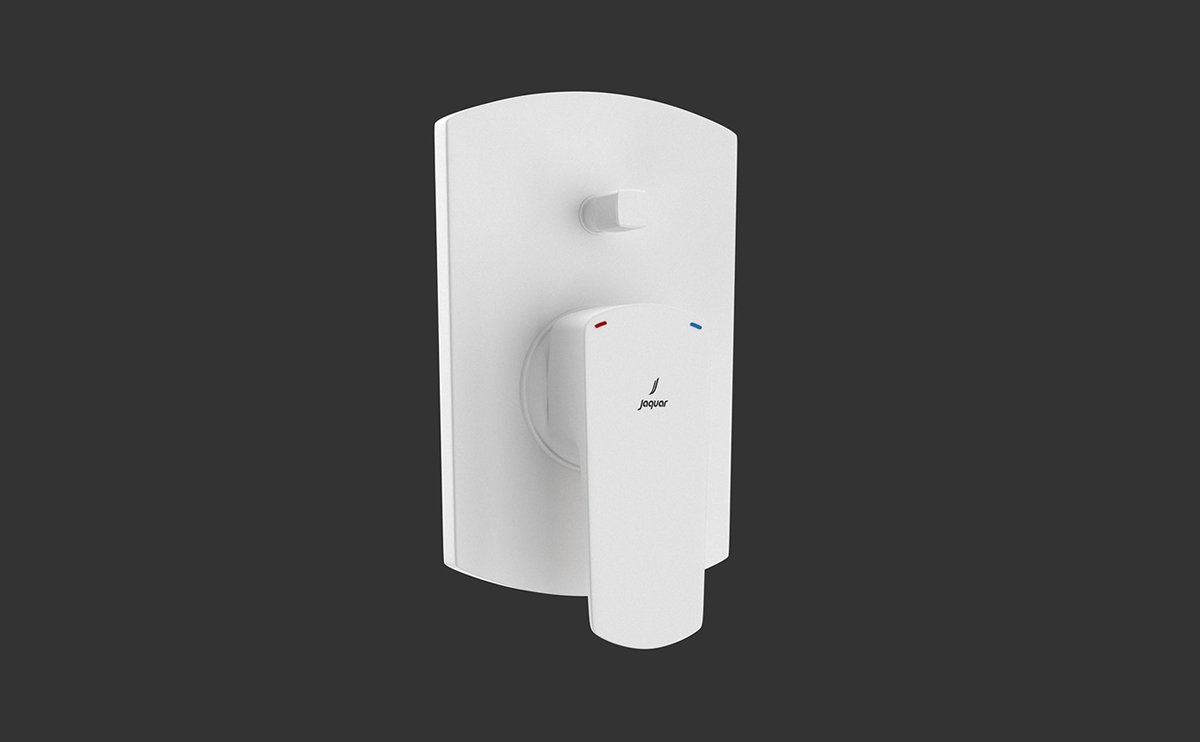
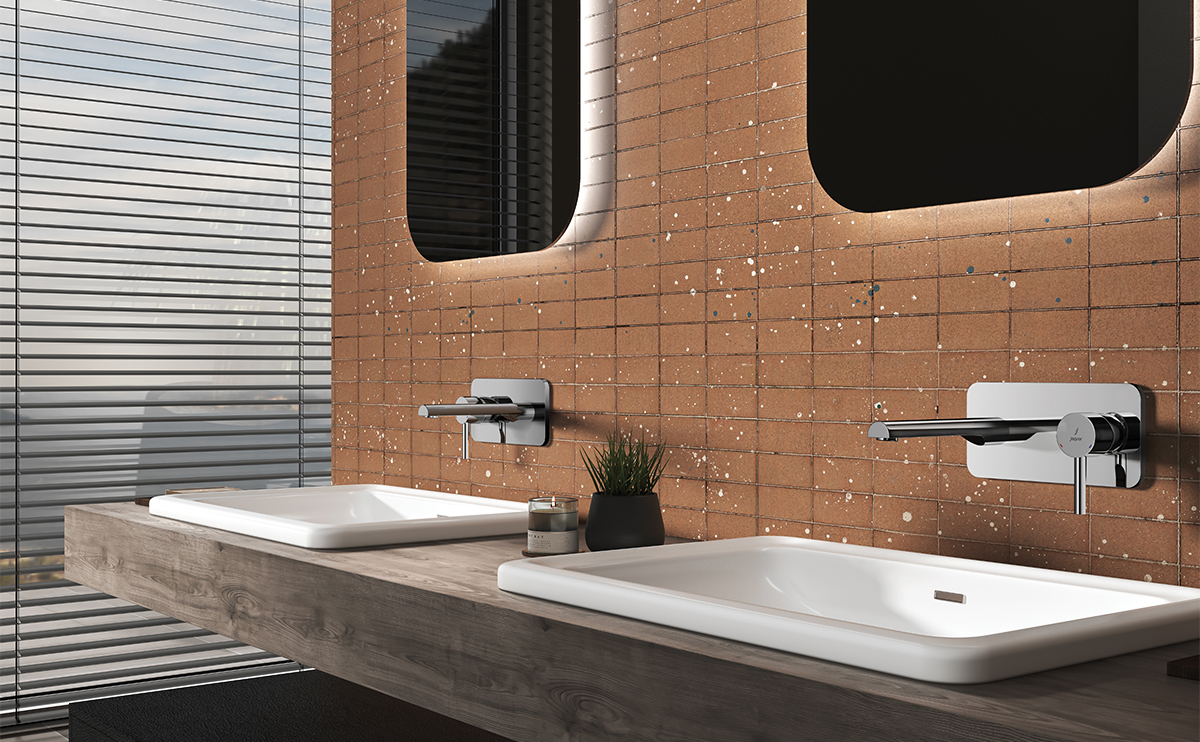
Installing a Jaquar diverter can make your bathroom more functional and look modern. No matter if you are renovating your space or installing a brand new system, the process can appear overwhelming. But if you get the right guidance and tools, it’s a job you can approach with confidence. In this step by step guide, we will show you how to install a Jaquar diverter the easiest way possible.
What Is a Jaquar Diverter?
Bathroom fitting Jaquar diverter is a drainage fitting that allows the water to flow from one outlet to another outlet. However, to get this to work, you are able to use water from the showerhead to a faucet or hand shower as an example. Jaquar diverters are available in different types in the market and Jaquar diverter 3 way is an example of Jaquar diverters that gives three outlets. Everyone can make great use of this flexibility in maximizing their bathroom space.
Tools You Will Need:
Before starting the installation process, make sure you have the following tools handy:
- Adjustable wrench
- Pipe wrench
- Screwdriver set
- Plumber’s tape (Teflon tape)
- Measuring tape
- Safety goggles
- Drilling machine (optional, for new installations)
Step-by-Step Guide to Installing a Jaquar Diverter
Step 1: Turn Off the Water Supply: So, if you’re installing your Jaquar diverter, the first step is to turn off the main water supply to avoid accidental injury. Close all water lines heading to the bathroom.
Step 2: Prepare the Wall: If it’s a fresh install you may need to cut a hole in the wall for the diverter to go in. Make an opening that will fit the diverter system using a drilling machine or a hammer and chisel. Make sure the hole is large enough for easy installation, but not too large so it’s not damaging to the wall.
Step 3: Connect the Diverter Body: Assemble the Jaquar diverter full set and find the diverter body. An option of a Jaquar diverter 3 way or some simple model so the body will have multiple inlets and outlets.
- Apply plumber’s tape to the threads of the pipes to ensure a leak-proof connection.
- Connect the hot and cold water inlet pipes to the respective diverter inlets.
- Attach the outlet pipes that will lead to the showerhead, faucet, or hand shower, depending on your bathroom setup.
Step 4: Install the Trim Plate: When you put the trim plate over the diverter body, it’s then secure. The most visible and accessible trim plate will be that of the diverter. Make sure you secure it with screws. Make sure it sits properly with the diverter body, and that the handle or lever runs smoothly.
Step 5: Attach the Handle: It’s now time to install the handle. A handle or lever in the Jaquar diverter full set adjusts the water flow. Mounting of this handle onto the diverter body is done by means of the provided screws or locking mechanism. Check that the handle slides quickly from one outlet (e.g., faucet, showerhead, etc) to the next.
Step 6: Check for Leaks: Before sealing everything up, turn on the water supply and test the diverter for leaks. Shift the handle between different outlets to ensure water flows where it’s supposed to. If there are any leaks, tighten the connections and reapply plumber’s tape if necessary.
Understanding Jaquar Diverter Parts
Jaquar diverter is made up of many parts working together to direct the water flow. Understanding these parts can help you during installation and future maintenance:
- Diverter Body: The core component that houses the inlets and outlets.
- Trim Plate: The visible part that covers the diverter body.
- Handle/Lever: The part you use to switch water flow between outlets.
- Cartridge: The internal mechanism that directs water to the correct outlet.
You can seal the area after you make sure all of the Jaquar diverter parts are there and working properly.
Post-Installation Tips
Once your Jaquar diverter is installed, it is important to keep your diverter maintained so you get long term performance. Clean the diverter handle and trim plate regularly to avoid soap scum build up and water stains. It’s possible to be able to buy a lubricant to apply to the internal components, but if you detect stiffness or can’t turn the handle, you may want to take it to a professional to fix it.
How Much Does a Jaquar Diverter Cost?
The price of a Jaquar diverter watering system may depend on the features. Depending on the features you may find a basic Jaquar diverter 3 way can be cheaper than a high end one with extra features. Here’s a general breakdown:
- Jaquar diverter price: It costs between ₹3,000 to ₹8,000 depending on the model and where you buy it.
- Jaquar diverter full set price: The diverter body, the trim plate and the handle form one complete set, ranging from ₹4,000 – ₹ 12,000, depending on the material and design.
Your diverter should fit into your budget and bathroom design. This means if you opt for a full set, you are getting it all. We have all the Jaquar diverter parts needed for installation.
Conclusion
If you install a Jaquar diverter correctly, Installing a Jaquar diverter can be a simple and rewarding thing to do. If you follow this guide, you will be able to have a seamless installation process that will provide more function, and help your bathroom look better. No matter if you select a basic model or Jaquar diverter full set, the crucial is good planning, proper installation and routine maintenance.
When you are buying a Jaquar diverter, always ask for a Jaquar diverter price check and see whether it consists of all the accessories needed for installation. With this step by step guide, learn how to install your Jaquar diverter and feel relaxed without any hassle in your bathroom.


